
(Shopify) How to create a free shipping rule and promote it on my site?
GENERAL
ADVANCED SHIPPING SETTINGS
SHIPPING PROFILE & ZONES
SHIPPING RULE/RATE SETUP
SHIPPING RULE/RATE SETUP USING CARRIER RATES INTEGRATION
SHIPPING RULES IMPORT/EXPORT FUNCTIONALITY
MERGING MULTIPLE SHIPPING RULES
PRODUCT DIMENSIONS SETUP
HISTORY/AUDIT TRAIL
COMMON ISSUES & FAQs
Table of Contents
(Shopify) How to create a free shipping rule and promote it on my site
In this article you will learn:
- How to Create Free Shipping Rules
- How to Promote Free Shipping on Your Site
How to Create Free Shipping Rules
You have two options for setting up a free shipping rate:
- Using Standard Shopify Shipping & Delivery Settings
- Overview:
This method is straightforward and easy to implement, but it offers fewer customization options. - Setup:
Follow Shopify’s tutorial for creating a free shipping tier: Shopify Shipping Tutorial
- Overview:
- Using a Custom Tiered Shipping Rate in Our App’s Advanced Shipping Calculator
- Overview:
This method allows for more detailed customization, including specific locations and additional conditions. - Setup
- Create a Shipping Rule in your chosen Shipping Zone.
- Use the Tiered Rate type based on “Cart Discounted Subtotal” or “Cart Total”.
- Details:
For a step-by-step guide, refer to the article How to Set Up Shipping Rules Using Tiered Rates
- Overview:
Difference between “Cart Discounted Subtotal” or “Cart Total”
“Cart Discounted Subtotal” is calculated by Shopify using the total price of all items in the cart, minus the total discount applied. This works great for free shipping calculations using a Tiered rate. All cart items being included refers to both shippable and non-shippable (digital) items being included in this total amount. There is no way around this since the app only received the total, not the actual calculation.
“Cart Total” on the other hand is calculated by the app using the total price of all items provided by Shopify (only shippable items which are included in the current calculation request). Shopify does not provide us the discounts per item, nor any individual non-shippable items.
In scenarios where Shopify is creating multiple shipping rate requests/calculations for different parts of the cart, each individual calculation will be provided the same amount for the “Cart Discounted Subtotal”, but different amount for the “Cart Total”. This is due to the “Cart Total” only containing the shippable items from each request (only parts of the cart), while the “Cart Discounted Subtotal” is always the same amount in each request as it refers to the entire cart, not the items in the request.
It is very important to understand these differences in order to create the right shipping rules for your store. Especially in the scenarios which result in multiple shipping rate requests for a single cart:
- When items in the cart ship from multiple warehouses
- When items in the cart have different recurrence (one time vs subscriptions)
- When items in the cart are split between multiple Shopify Shipping Profiles
How to Promote Free Shipping on Your Site
This app allows you to automatically promote both kinds of free shipping tiers to eligible customers using the Free Shipping Bar widget. The setup of this widget involves two main parts. You must configure the widget’s content and calculation options, and then you have to install the widget on your store or enable the top-of-page widget.
To configure the Free Shipping Bar to promote free shipping tiers which are defined in our app, or in Shopify, you need to:
- Go to the “Customize Free Shipping Bar Widgets” page
- Ensure that the “Use Shipping Rates from Shopify” option is enabled. If disabled, the widget will generate the free shipping tier based on a single manual configuration which will ignore all shipping rates defined in Shopify or within the app’s Advanced Shipping Calculator.
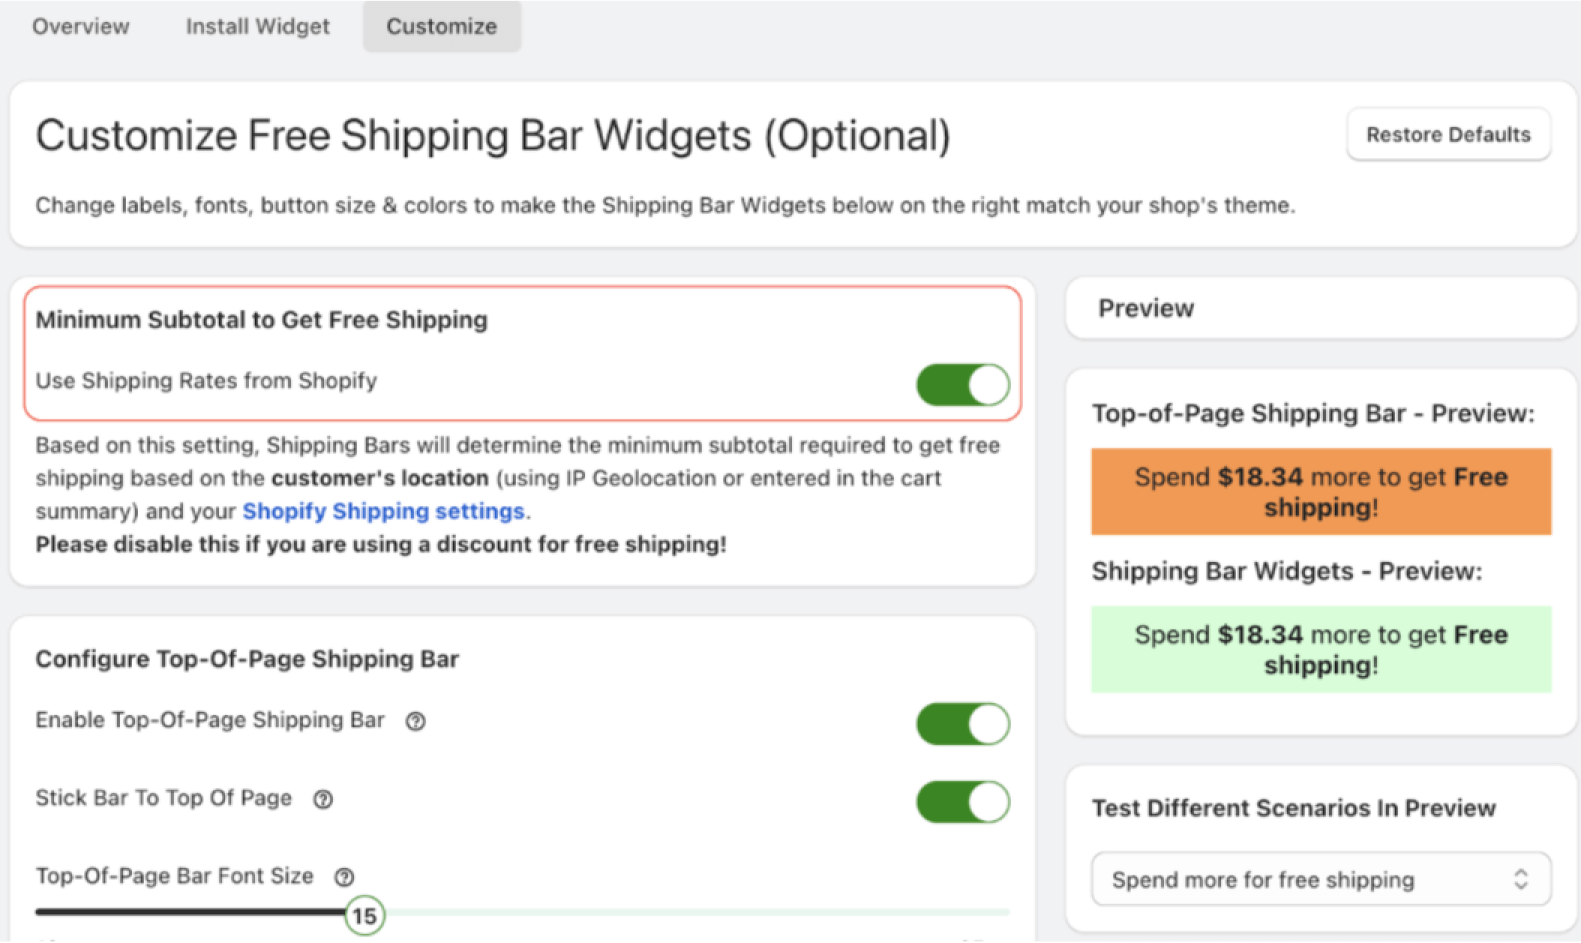
On the same page you can enable the “Top-Of-Page Shipping Bar” widget which normally appears above the rest of the site content. When using certain Shopify themes this app’s bar can conflict and overlap with the theme’s own floating header. In such cases it’s better to configure a custom placement for the widget.
It’s important to configure the text variations which the widget will display before reaching free shipping, after reaching it, and when the cart is empty. This can be done by:
- Scrolling down on the “Customize Free Shipping Bar Widgets” page until you see the “Widget Dynamic Text Variants” section, then
- Modifying each variation of the promotional text to fit your shop’s needs.
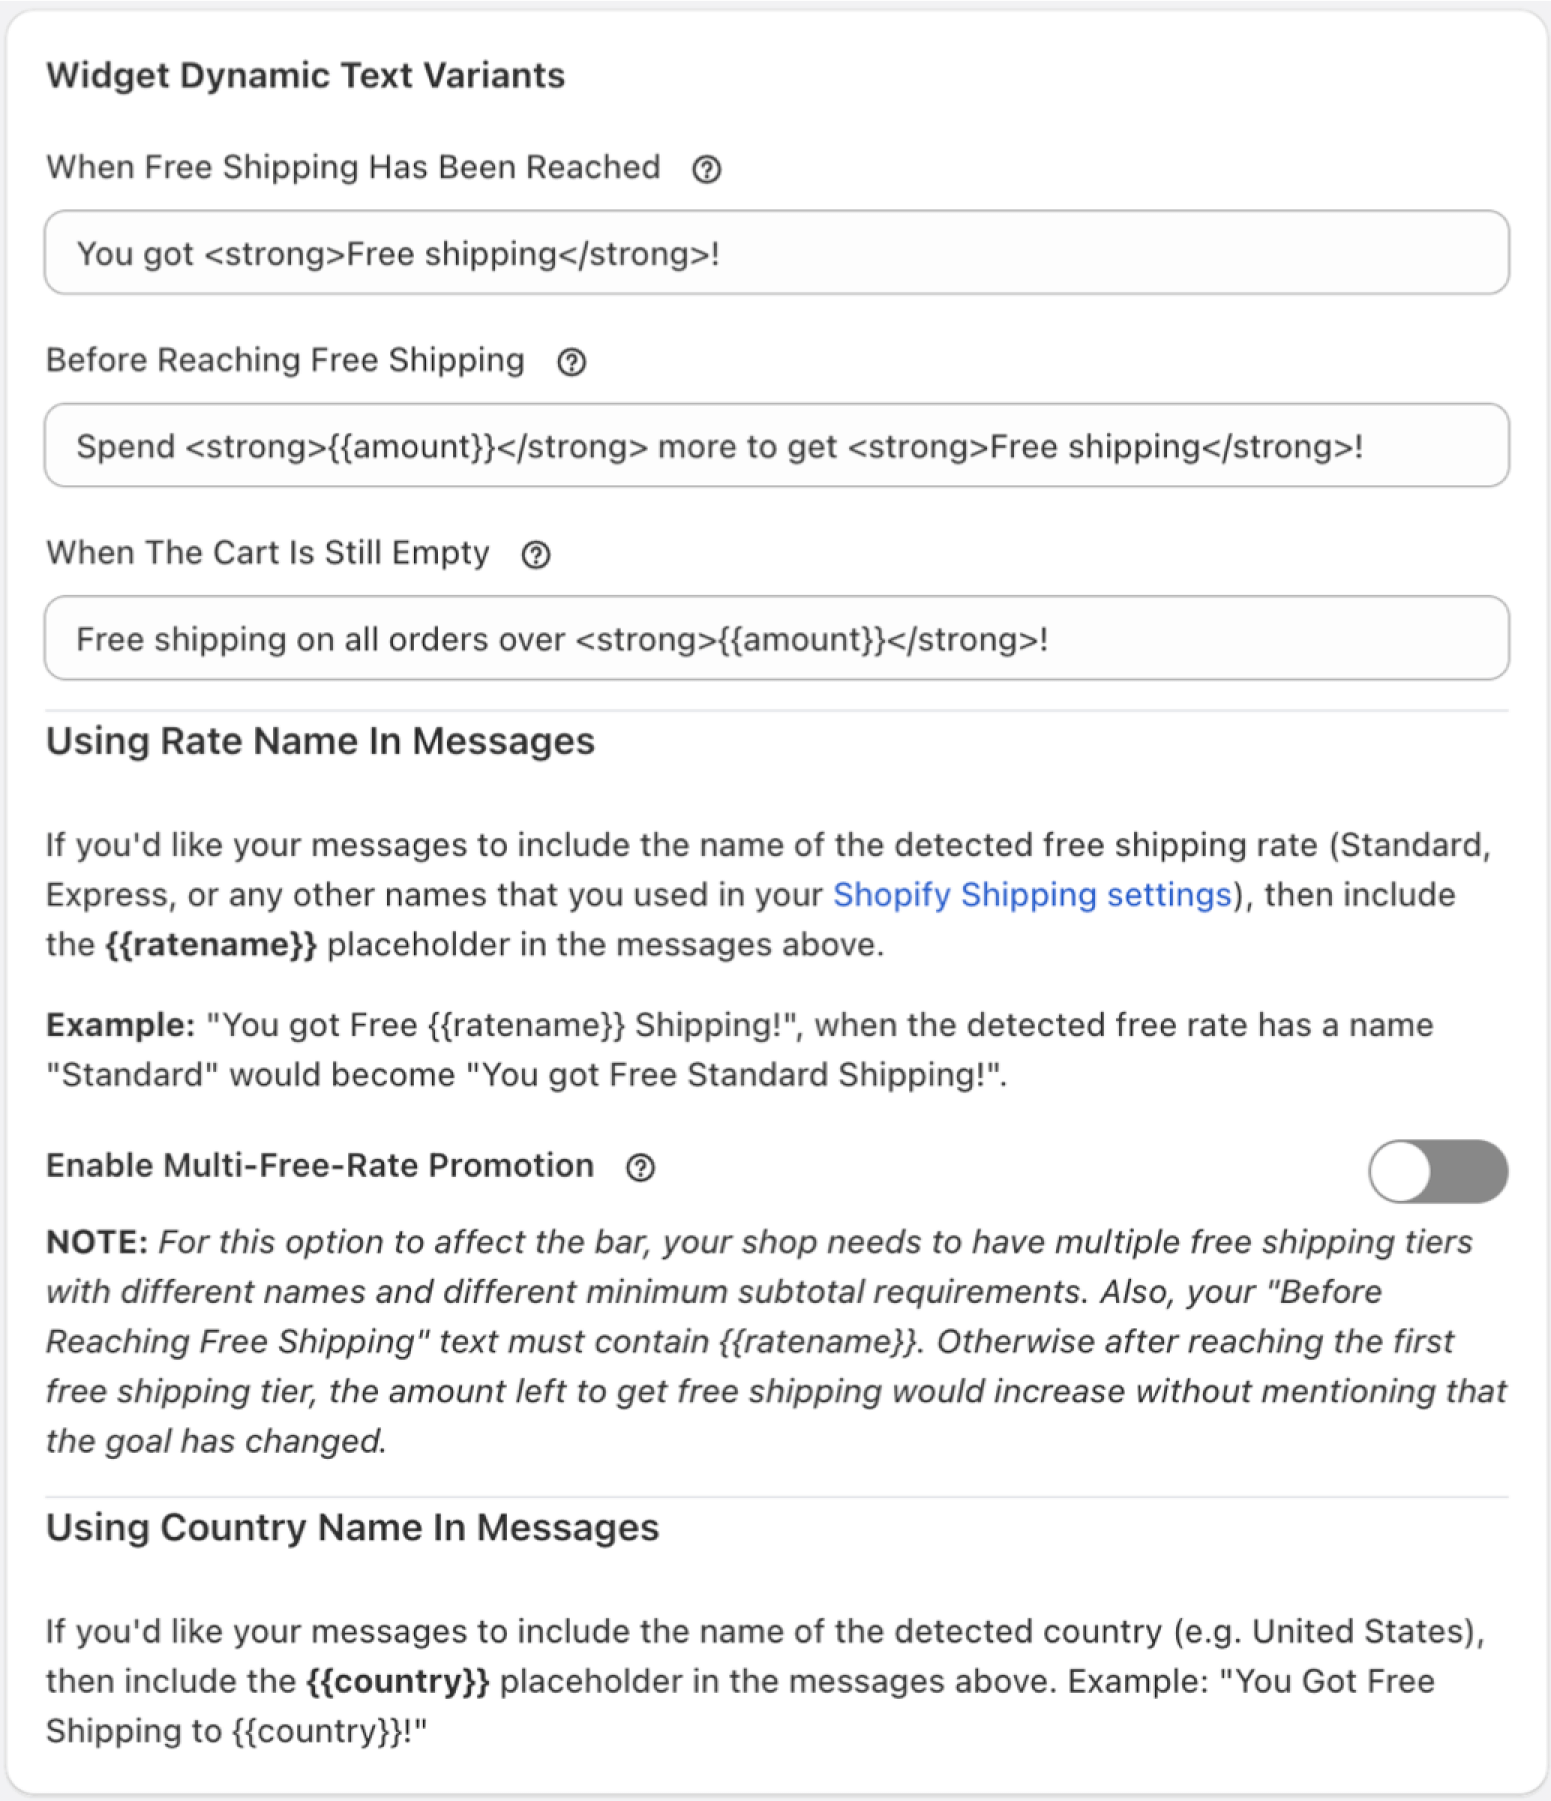
There are several more advanced configuration options available:
- When “Using Rate Name In Messages”, you can add the {{ratename}} placeholder in any of the promotional messages, and that will be replaced by the actual rate name. For example, “Spend {{amount}} more to get Free {{ratename}} Shipping!” can turn into “Spend $15 more to get Free Standard Shipping!”
- If you combine the option above with the “Enable Multi-Free-Rate Promotion” option, then you can promote a better “Express” rate if the customer spent another $50, allowing you to continuously aim to increase average order value.
- The “Using Country Name In Messages” option can be helpful to display messages like “Spend {{amount}} more to get Free Shipping within {{country}}!”, which would turn into “Spend $15 more to get Free Shipping within Canada!”