How to Delete Shipping Rules Using Import in Shopify Advanced Shipping Calculator
GENERAL
ADVANCED SHIPPING SETTINGS
SHIPPING PROFILE & ZONES
SHIPPING RULE/RATE SETUP
SHIPPING RULE/RATE SETUP USING CARRIER RATES INTEGRATION
SHIPPING RULES IMPORT/EXPORT FUNCTIONALITY
MERGING MULTIPLE SHIPPING RULES
PRODUCT DIMENSIONS SETUP
HISTORY/AUDIT TRAIL
COMMON ISSUES & FAQs
How to Delete Shipping Rules Using Import in Shopify Advanced Shipping Calculator
In this article, you will learn about:
- Why it is useful to use an import file to delete shipping rules
- How to delete shipping rules using an import file
Why should I use an import file to delete shipping rules?
Using an import file to delete shipping rules offers several advantages:
- Bulk Deletes Across Multiple Zones:
With an import file, you can perform bulk deletions from multiple zones at once, saving you time and effort compared to deleting rules individually.
- Better Control Over the Deletion Process:
By viewing all your rates in one file, you gain better control over the deletion process. This overview allows you to manage and confirm the rules you’re deleting more effectively.
- Backup Recommendation:
It’s recommended to save the original file as a backup before making any changes. This ensures that you have a copy of your initial settings, which you can restore if needed.
- Increased Reliability: The import file method is more reliable than deleting rules one by one. This approach reduces the risk of errors and ensures that all intended deletions are completed accurately.
How to delete shipping rules using an import file?
The first step is to download the base file. To do this, follow these steps:
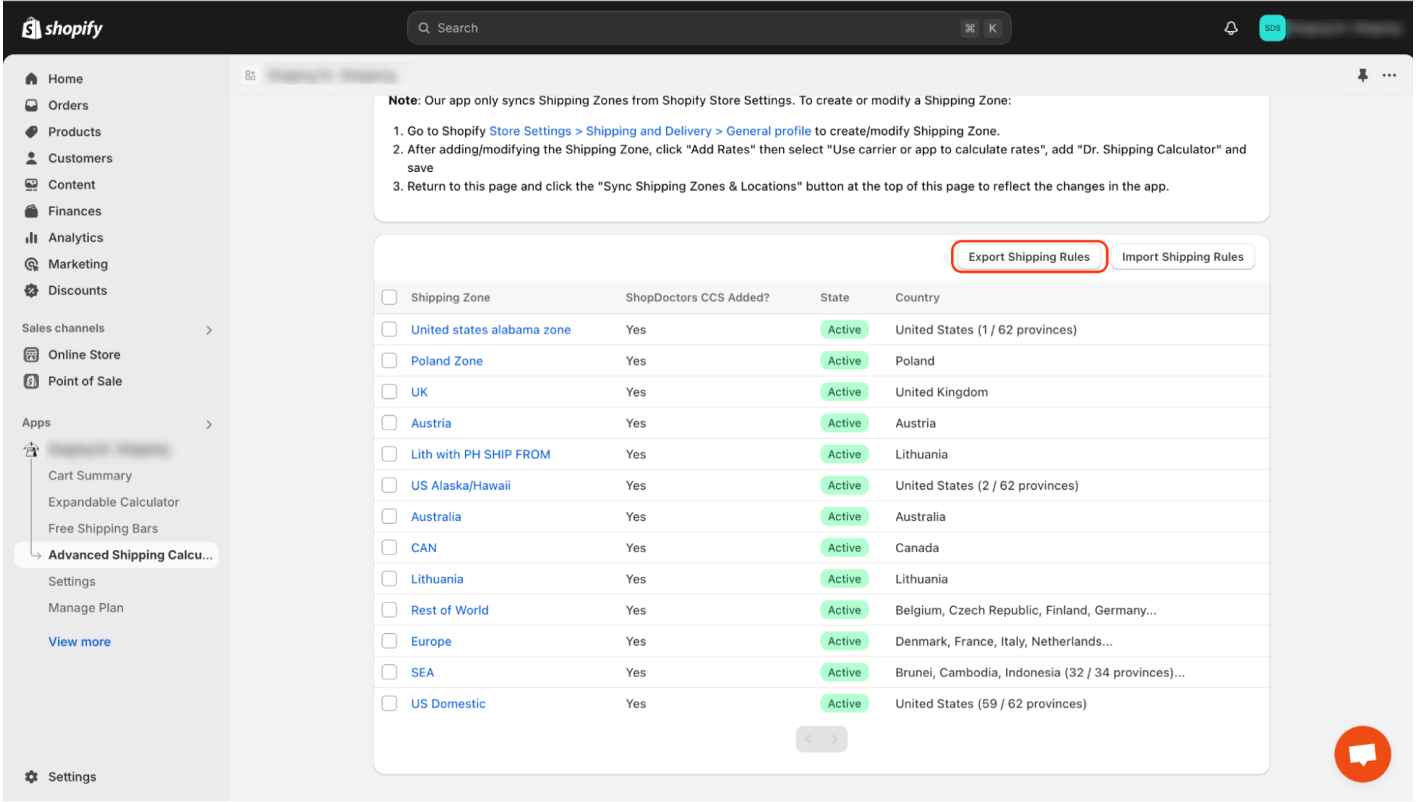
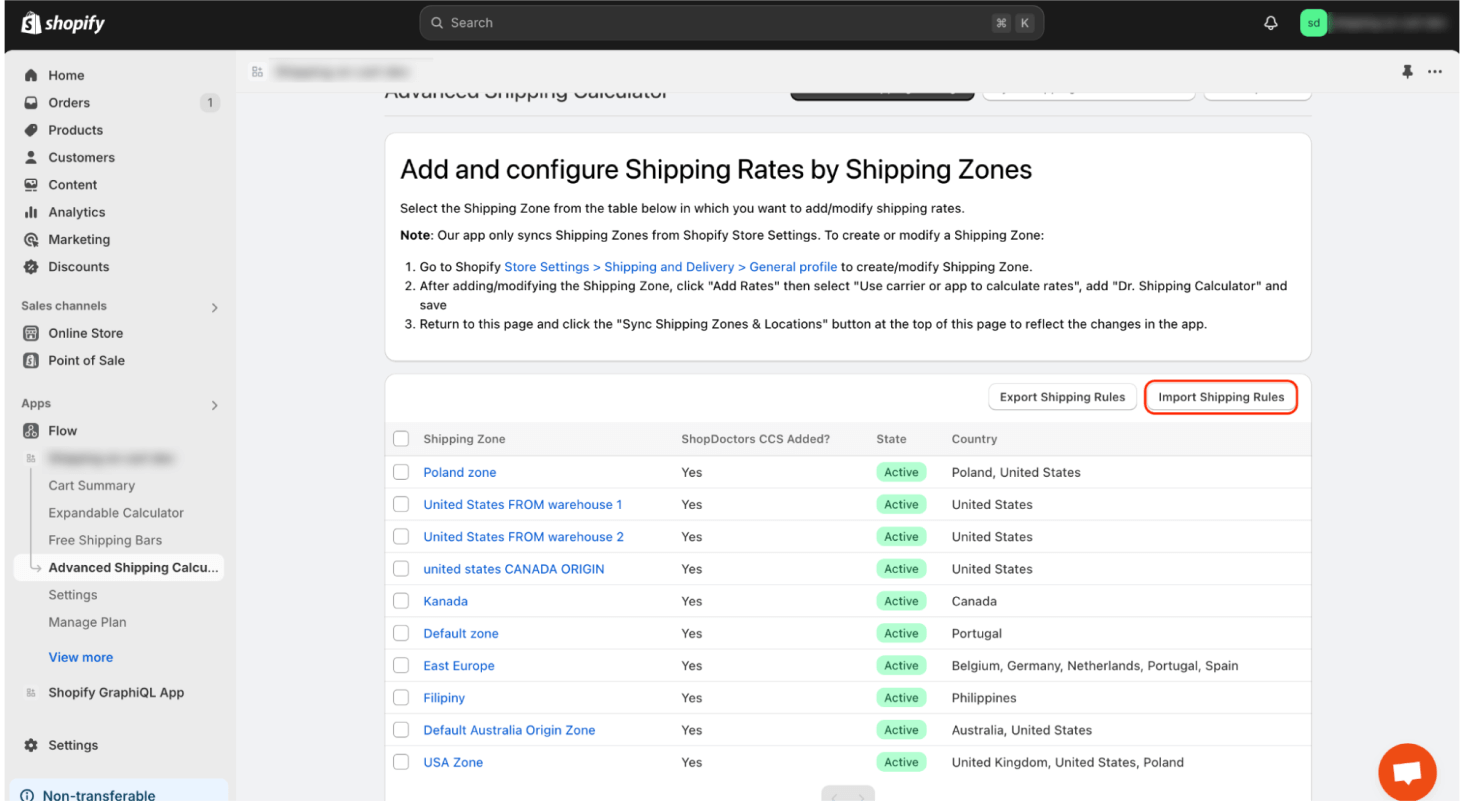
- Go to the “Advanced Shipping Calculator” page and click the “Export Shipping Rules” button:
Next, click the “Export” button
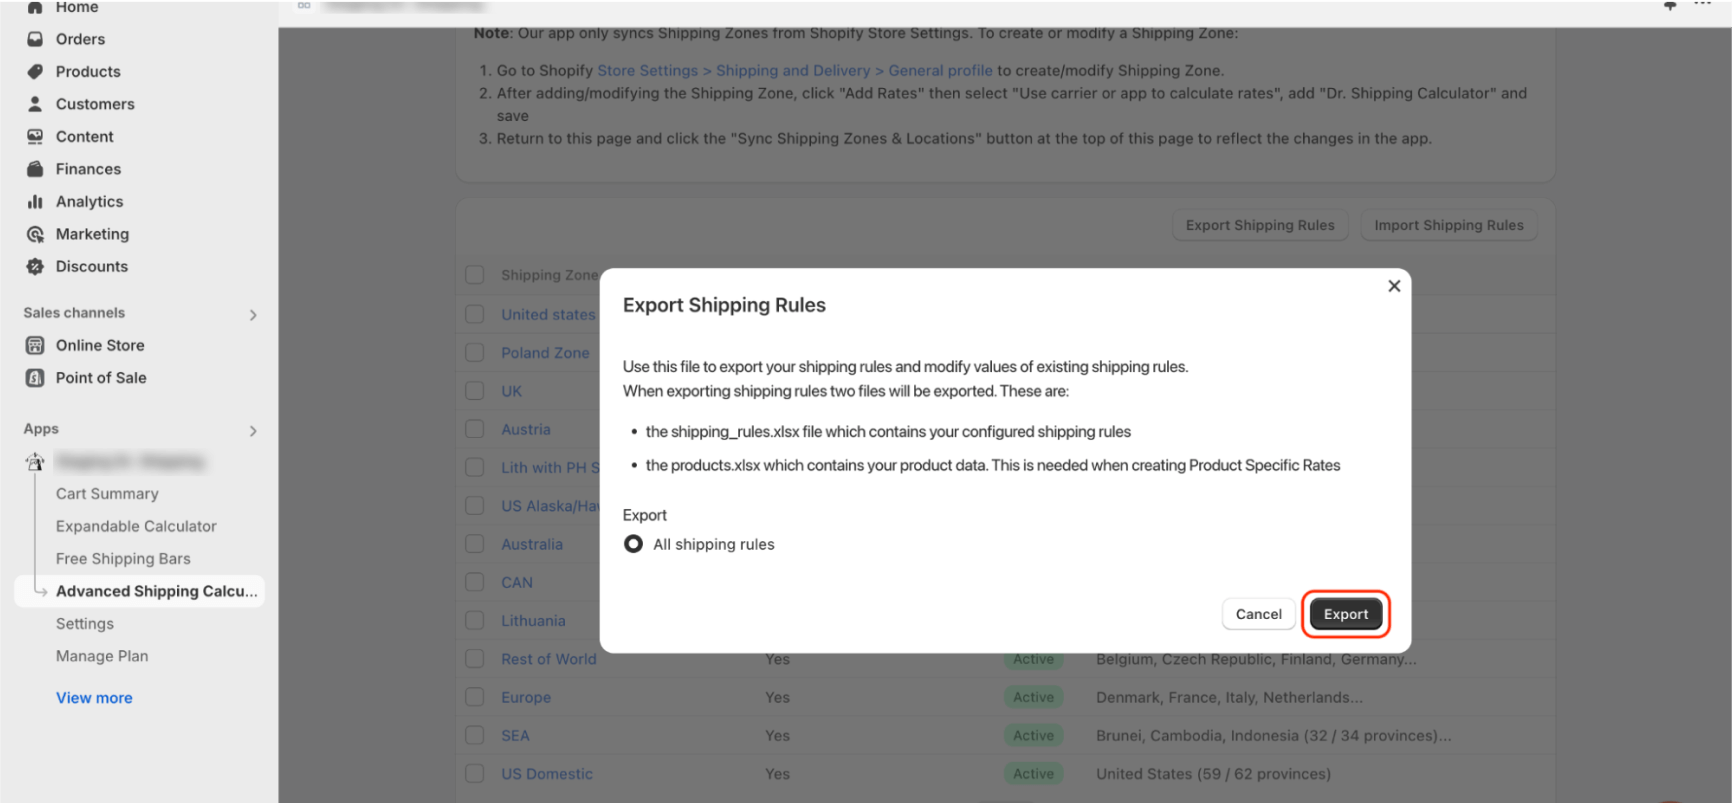
If you need more information about exporting shipping rates, read this article.
To delete shipping rates, find the rates you want to remove in the file and change the operator in the main row (If you want to learn more about parent/child rows, read this article) to “Delete.” Then save the file. If you accidentally delete a row, you can always restore it by changing the operator to “Add / Update” and importing the file again
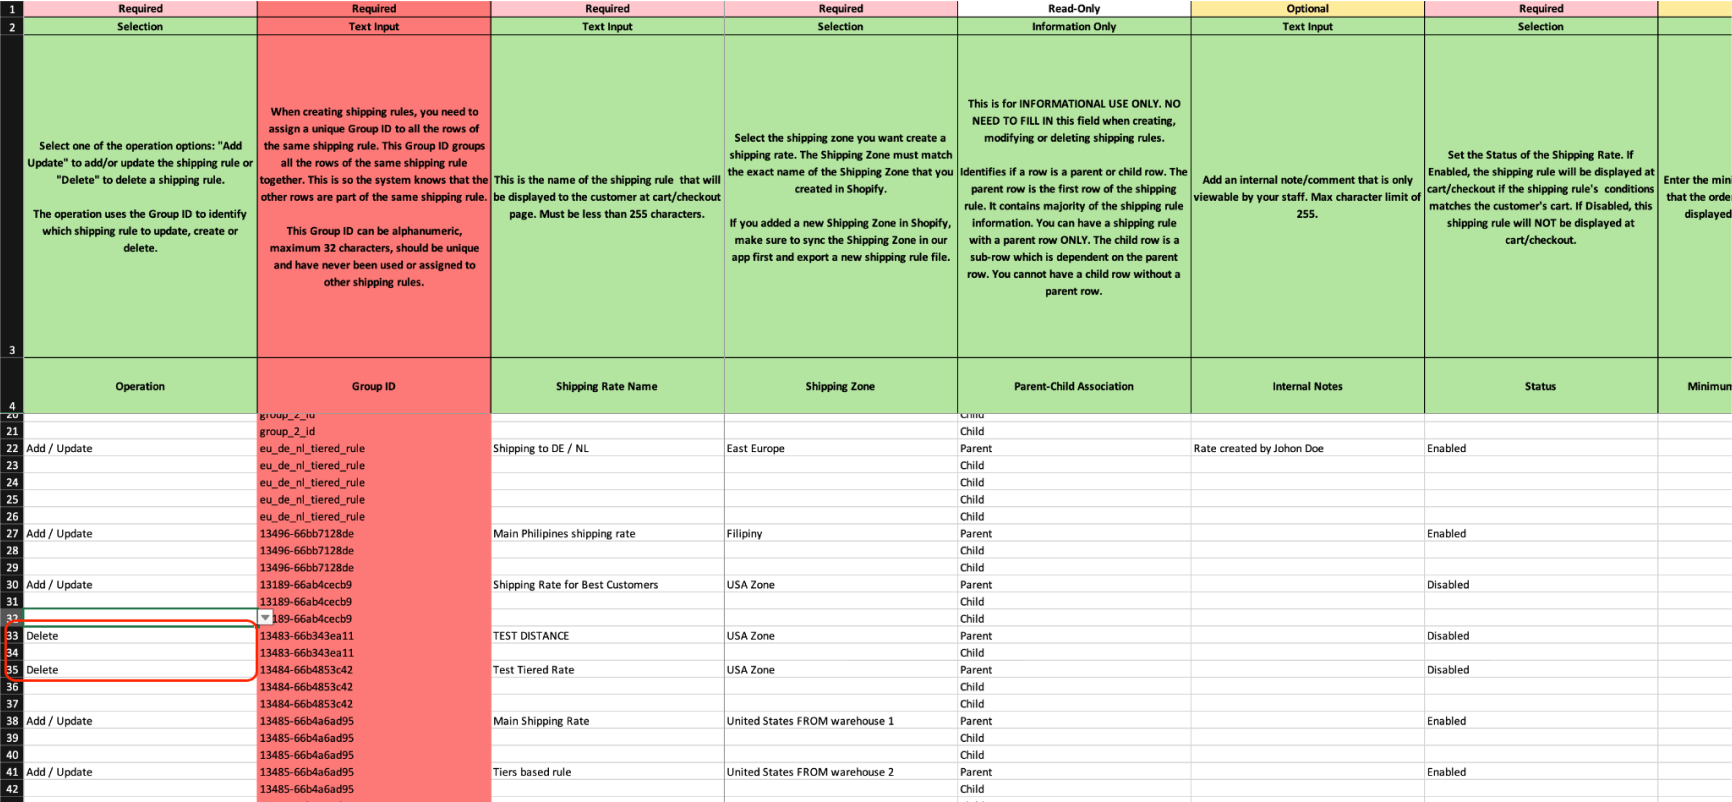
Once the file is configured, you can save it and upload it through the import option in the application.
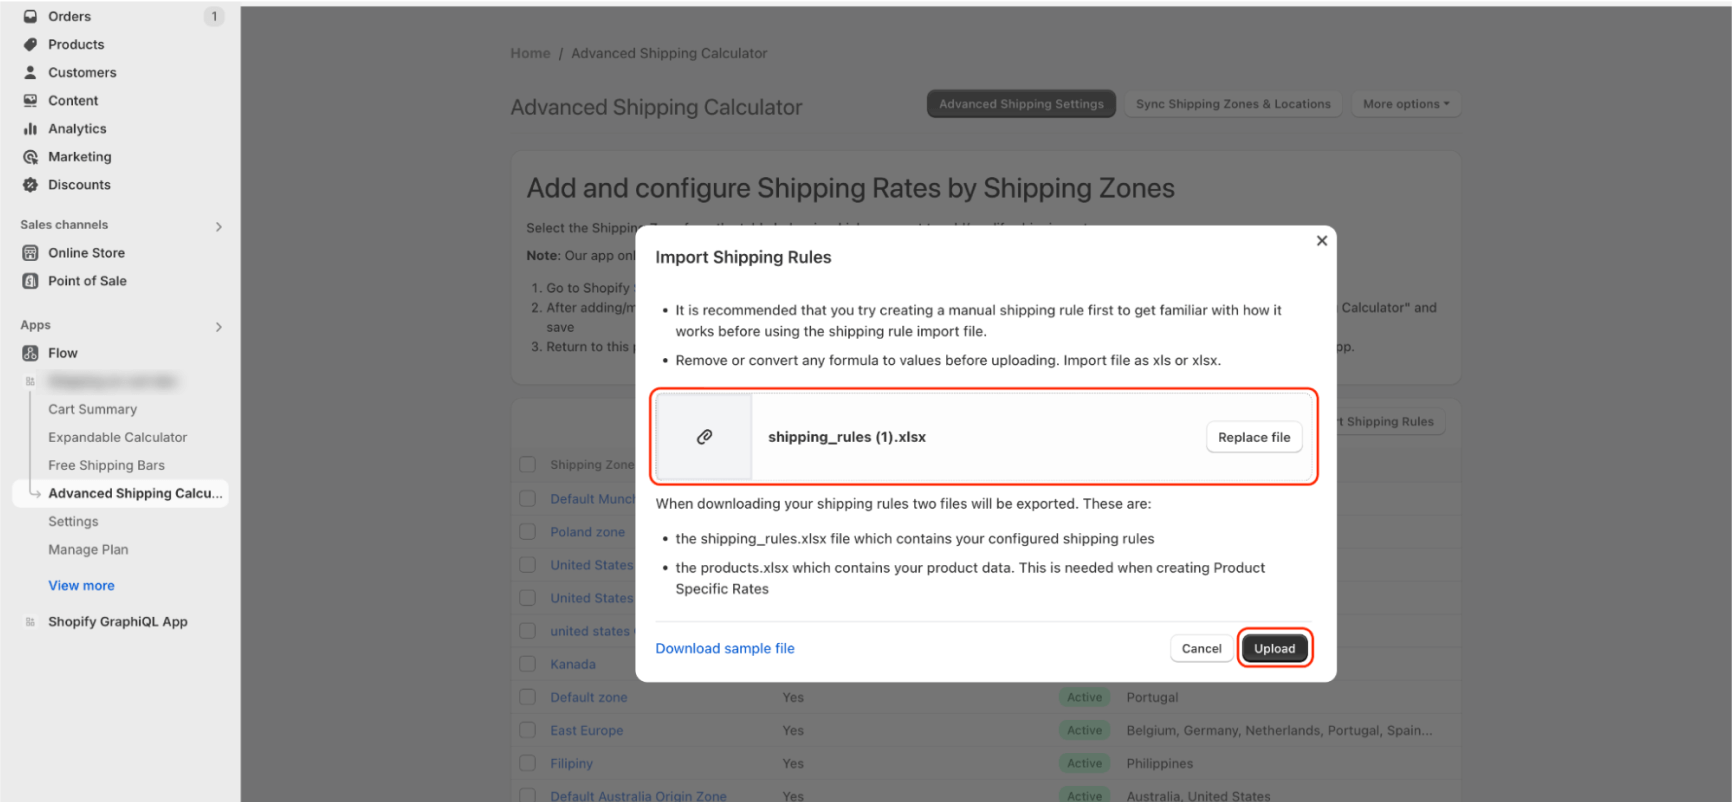
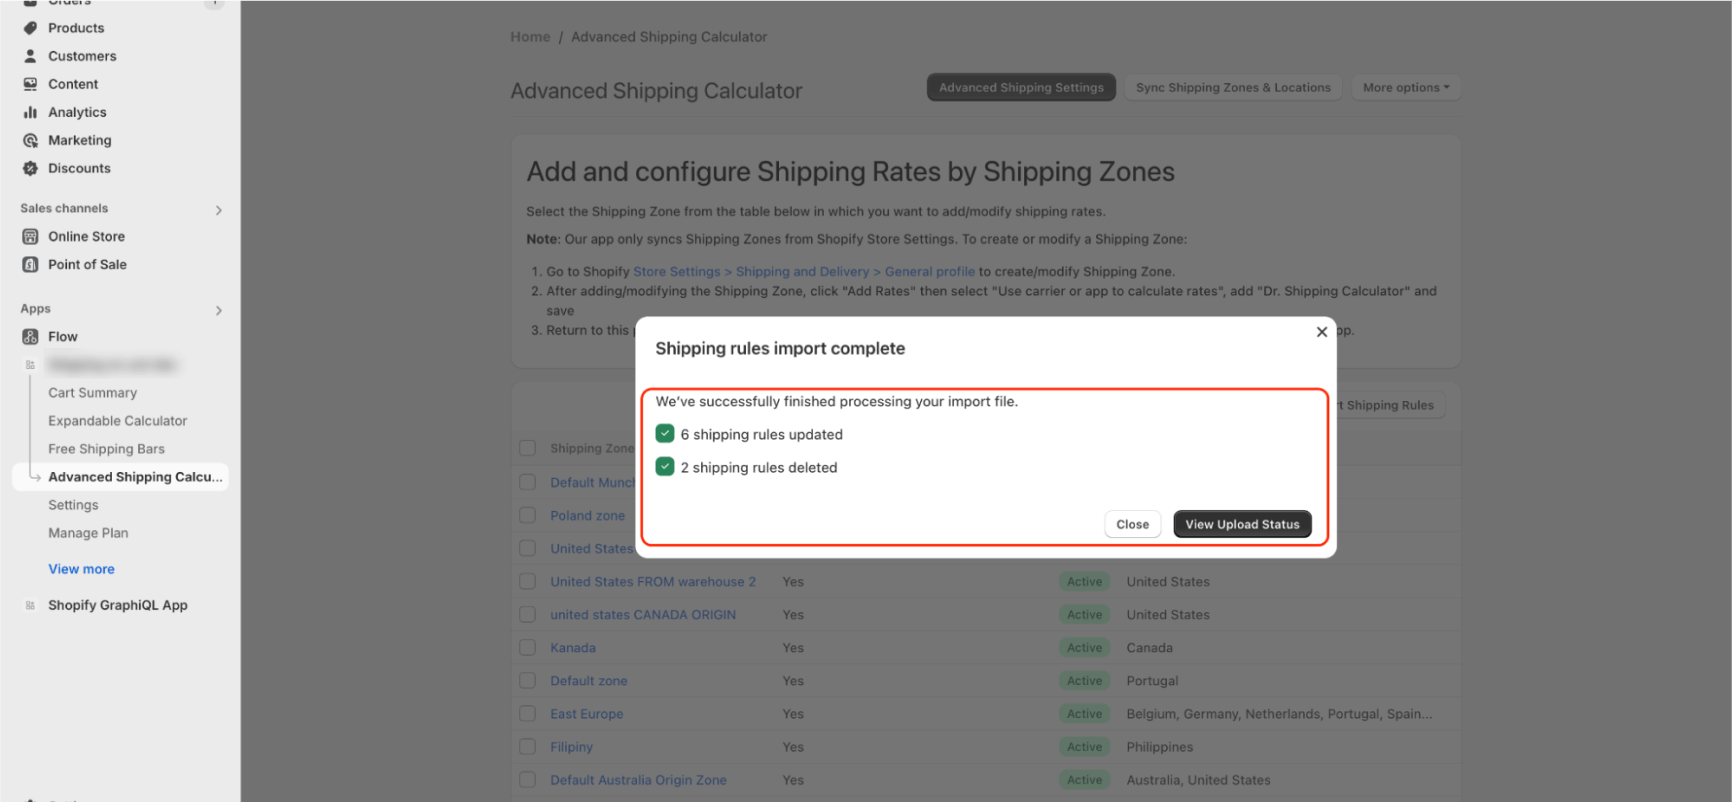
When the import is complete, you will be notified of the changes that have occurred during the import process. To learn more about the import summary, read this article.
