
Setting Default Values in Advanced Shipping Setting (Dr Cart Shipping Rates & Rules Shopify App)
GENERAL
ADVANCED SHIPPING SETTINGS
SHIPPING PROFILE & ZONES
SHIPPING RULE/RATE SETUP
SHIPPING RULE/RATE SETUP USING CARRIER RATES INTEGRATION
SHIPPING RULES IMPORT/EXPORT FUNCTIONALITY
MERGING MULTIPLE SHIPPING RULES
PRODUCT DIMENSIONS SETUP
HISTORY/AUDIT TRAIL
COMMON ISSUES & FAQs
Table of Contents
In this article you will learn:
How do I access the Advanced Shipping Settings in Shopify page?
- Step 1
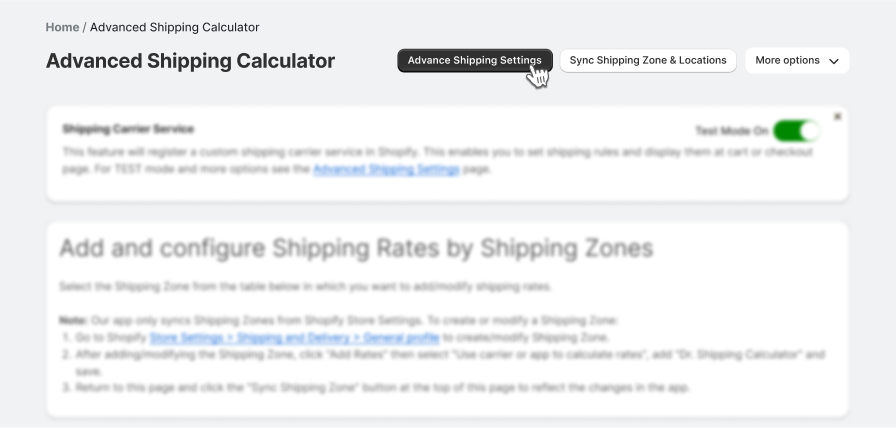
First, navigate to the “Advanced Shipping Calculator” page located in the left menu. Next, click the “Advanced Shipping Settings” button.
- Step 2
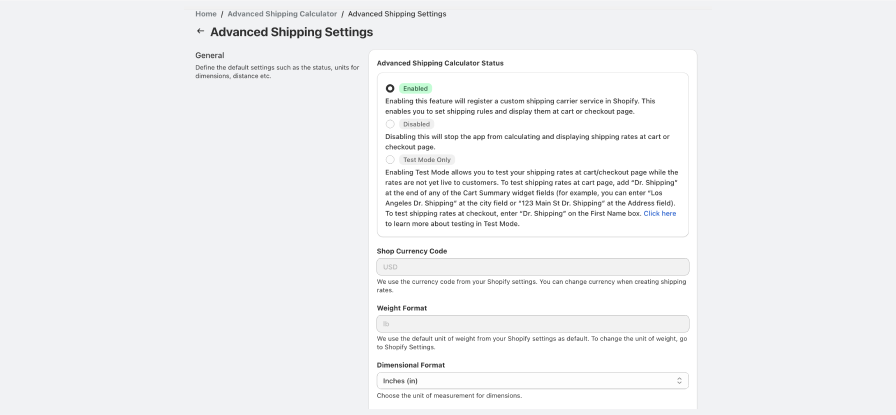
This will take you to a settings page that looks like this.
How to set up the default currency unit?
Why is this field disabled in Advanced Shipping Settings? This field is disabled in Advanced Shipping Settings because this setting comes from Shopify.
To change the default store currency, follow these steps:
- Step 1
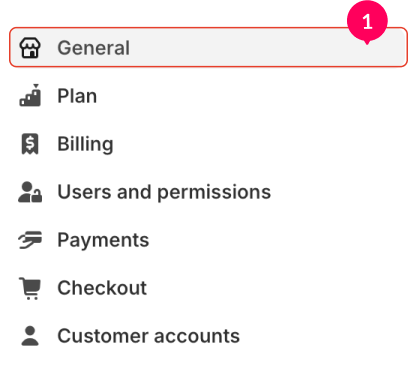
Go to the “Settings” page in your Shopify admin panel. Find the “General settings” section
- Step 2
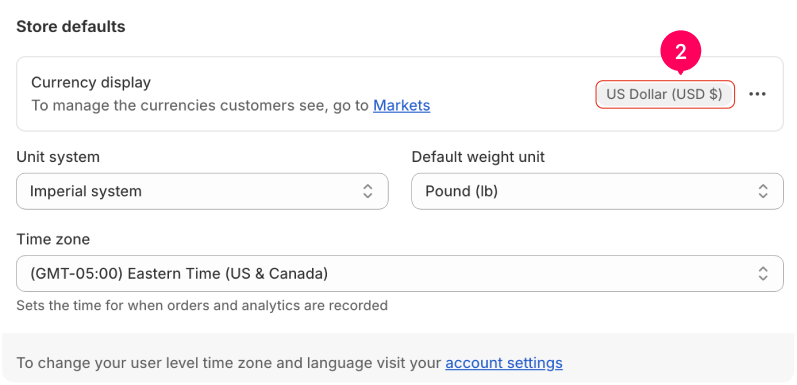
Locate the “Store defaults” card. In the “Currency display” section, you can change the default store currency.
Note: Changing the default currency will affect your store and customers. Ensure that you are certain about this change before proceeding.
How to set up the default weight unit?
- Go to the “Settings” page in your Shopify admin panel.
- Find the “General settings” section.
- Locate the “Store defaults” card.
- In the “Default weight unit” section, you can change the default weight unit.
Note: Changing the default weight unit will affect your store and customers. Ensure that you are certain about this change before proceeding.
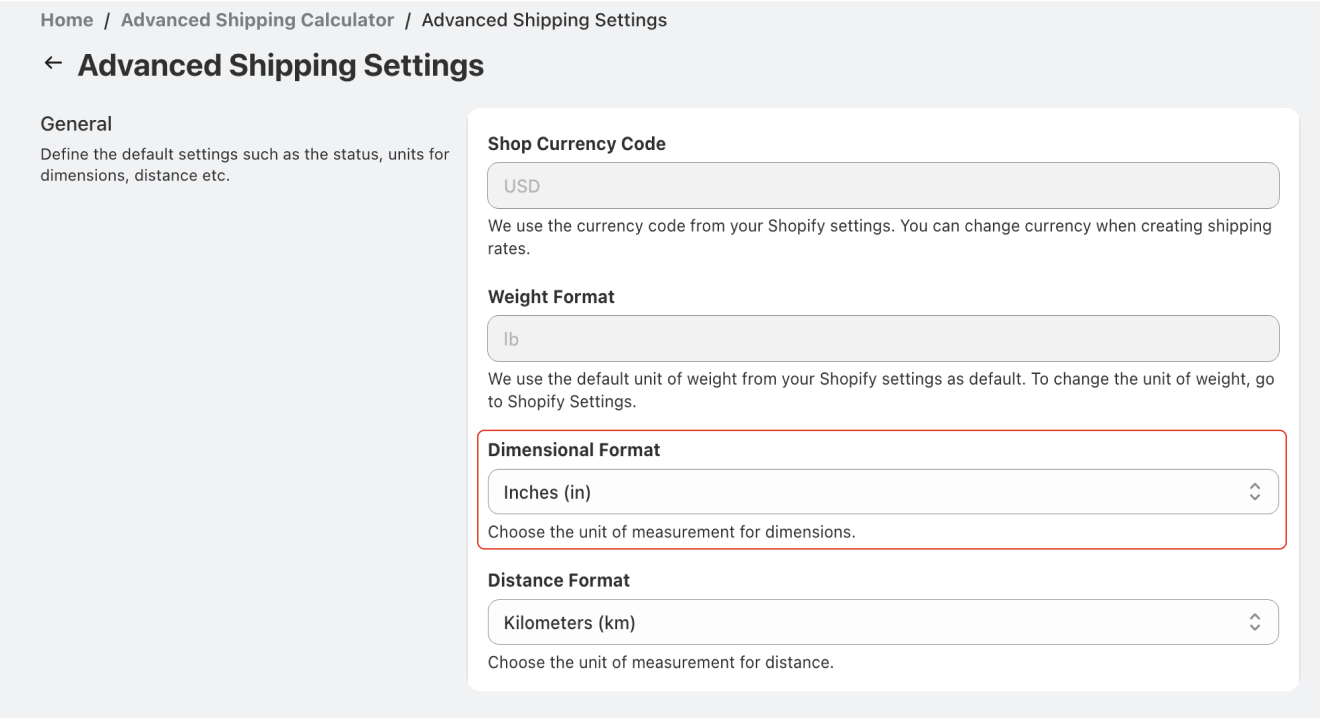
How to set up the default Dimensional Format?
- Remember, you can change this unit during the configuration of shipping rules.
- This unit will also be displayed as the default unit of measurement on the product edit page (for editing product dimensions).
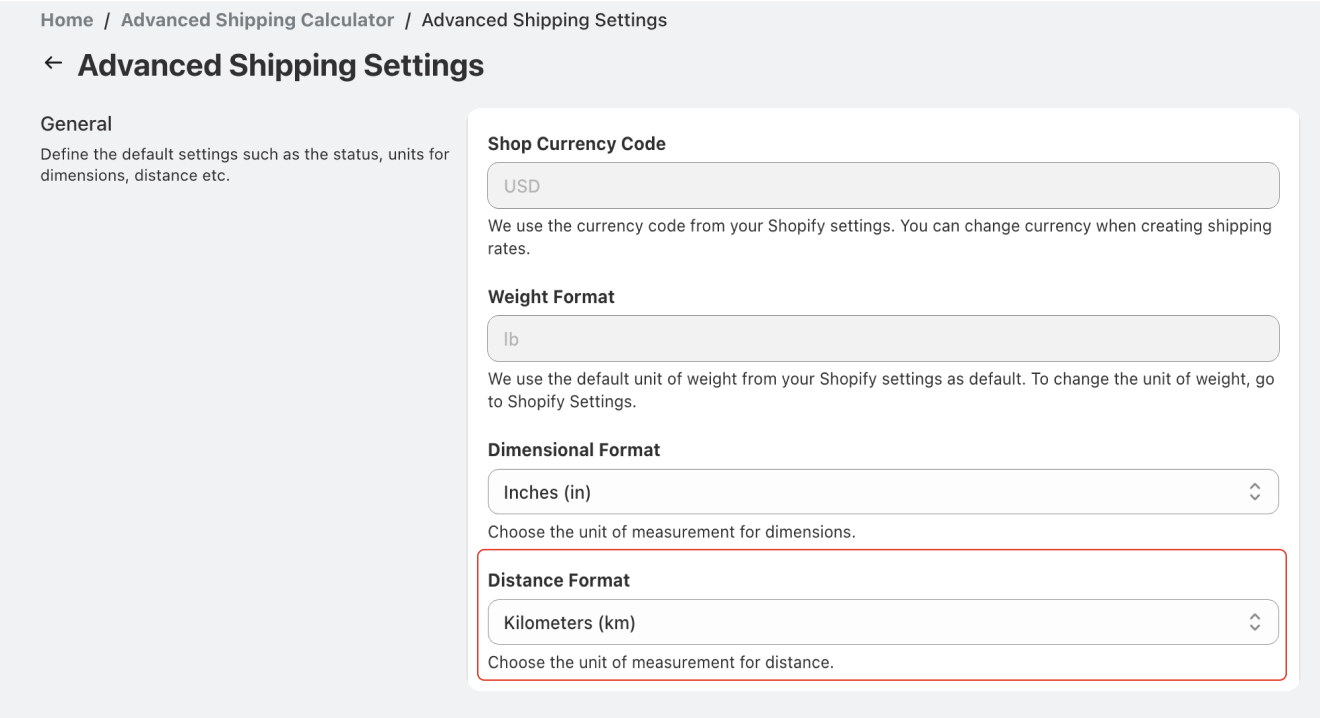
How to set up the default Distance Format?
The default distance format is the unit displayed during configuration calculations or filters based on distance for example “cart distance”.
To set up the default distance format, follow these steps.
Remember, you can change this unit during the configuration of shipping rules.
The default dimensional format will be used during the calculation of the distance between origin and destination locations.
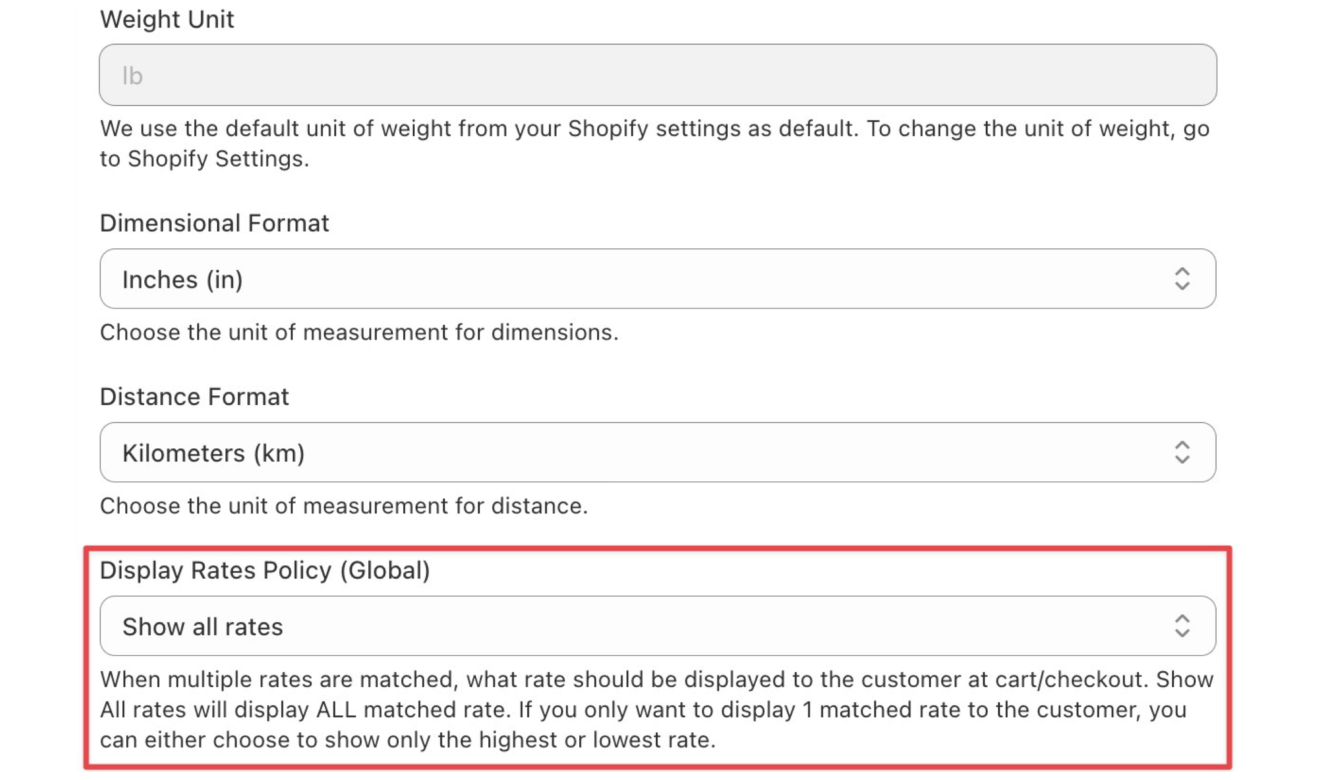
How to set up the default Display Rates Policy?
- Show all rates: The app will show all rates.
- Show only the highest rate: The app will show only the highest rate.
- Show only the lowest rate: The app will show only the lowest rate.
Example usage:
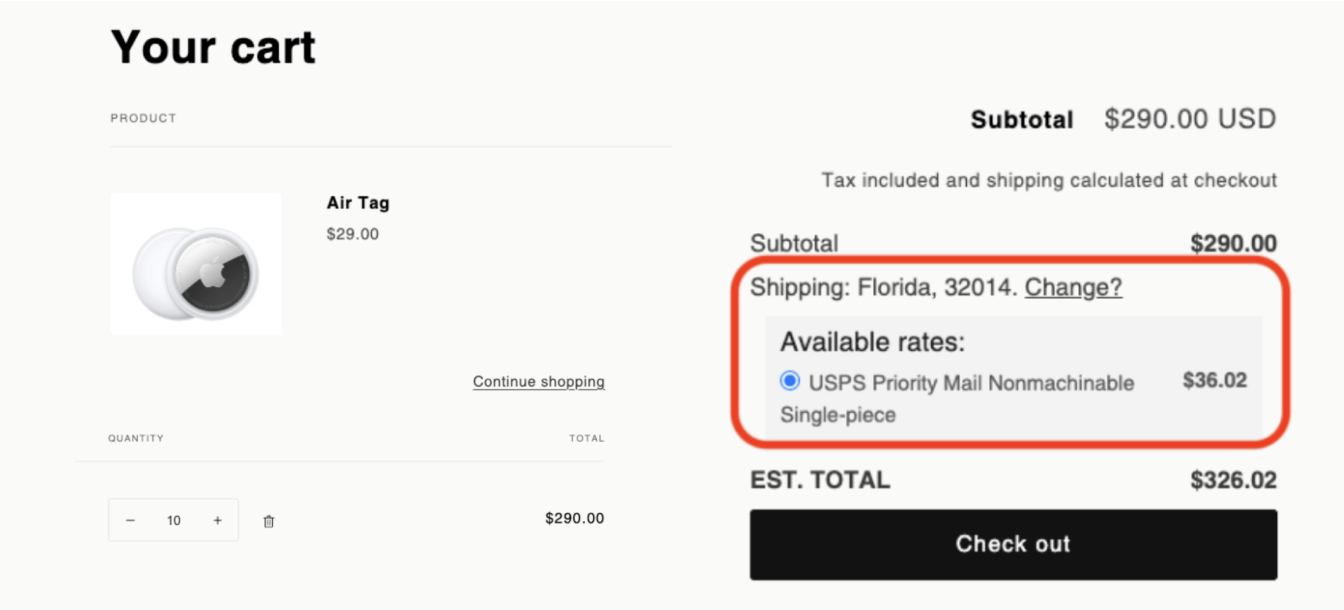
Let’s say you have two different shipping rules configured in distinct ways, plus one additional shipping rule based on external carrier integration. These rules might return multiple shipping rates. For example:
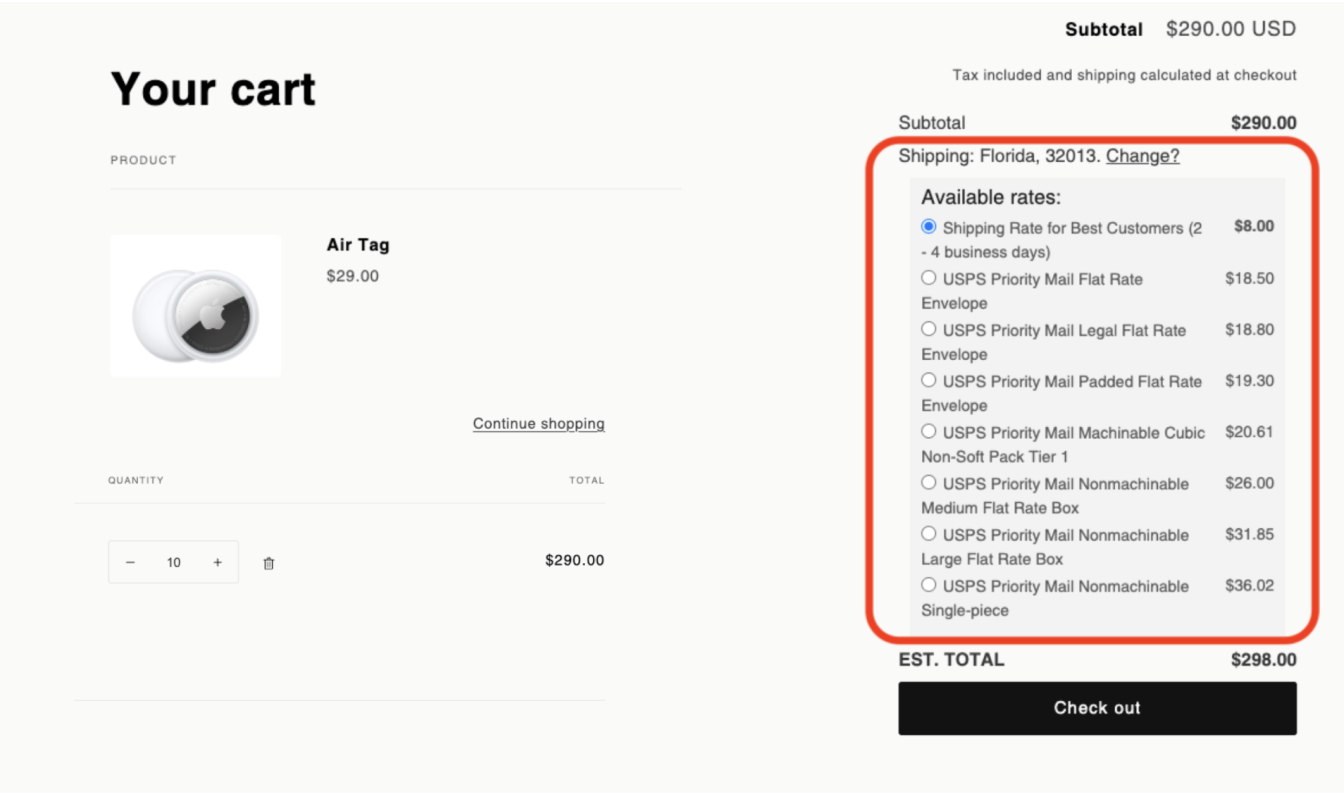
As you can see on the screenshot above, there might be many rates to choose from when you select “Show all rates” under Display Rates Policy. You can opt to display just one shipping rule based on a price setting, rather than all available rates.
For example, you can choose to display just the most expensive (e.g., USPS Priority Mail Nonmachinable Single-piece) as seen on the screenshot below by selecting “Show only highest rates” under Display Rates Policy.
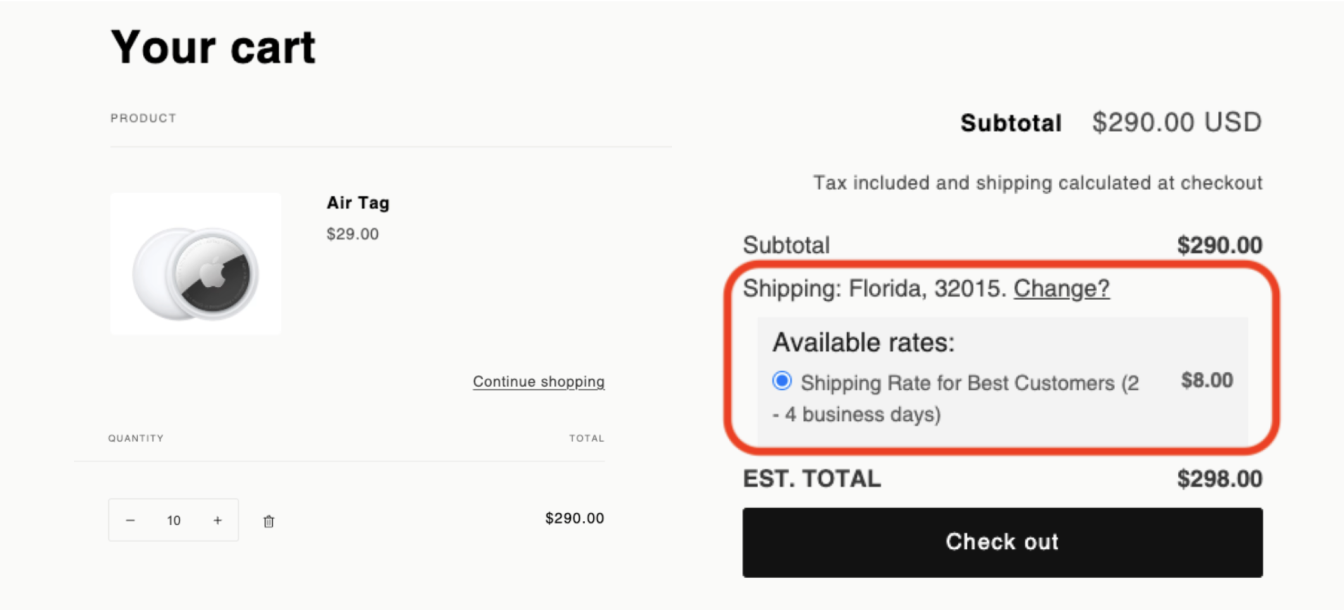
Or if you select “Show only the lowest rate”, only the cheapest rate (e.g., “Shipping Rate for Best Customers”) will be displayed to the customer as seen on the screenshot below.
How to set up the default Max Merge Rate Priority Number?
Priority is one of the rule options you can choose when you want to combine two or more shipping rates into one. When you use “Priority” as the merging rule, the shipping rule/rate with the highest assigned priority number will always be displayed at cart/checkout. To learn more about combining multiple shipping rates, you can refer to our How to merge or combine multiple rates into one rate article.
To set up the default Merge Rates Max Priority Number, go to “Advanced Shipping Settings” and look for “Merge Rates Max Priority Number” under the General section.
By default, the Max Merge Rate Priority Number value is set to 20. If you want to combine 21 or more shipping rates into one using Priority, then you need to adjust this value. For example, you have 25 shipping rates that you want to combine into 1 using Priority, then you need to adjust the Max Merge Rate Priority Number value to 25. This setting will change the maximum number of priorities in the shipping rule configuration form in the “Merge Rate Priority (Optional)” field.
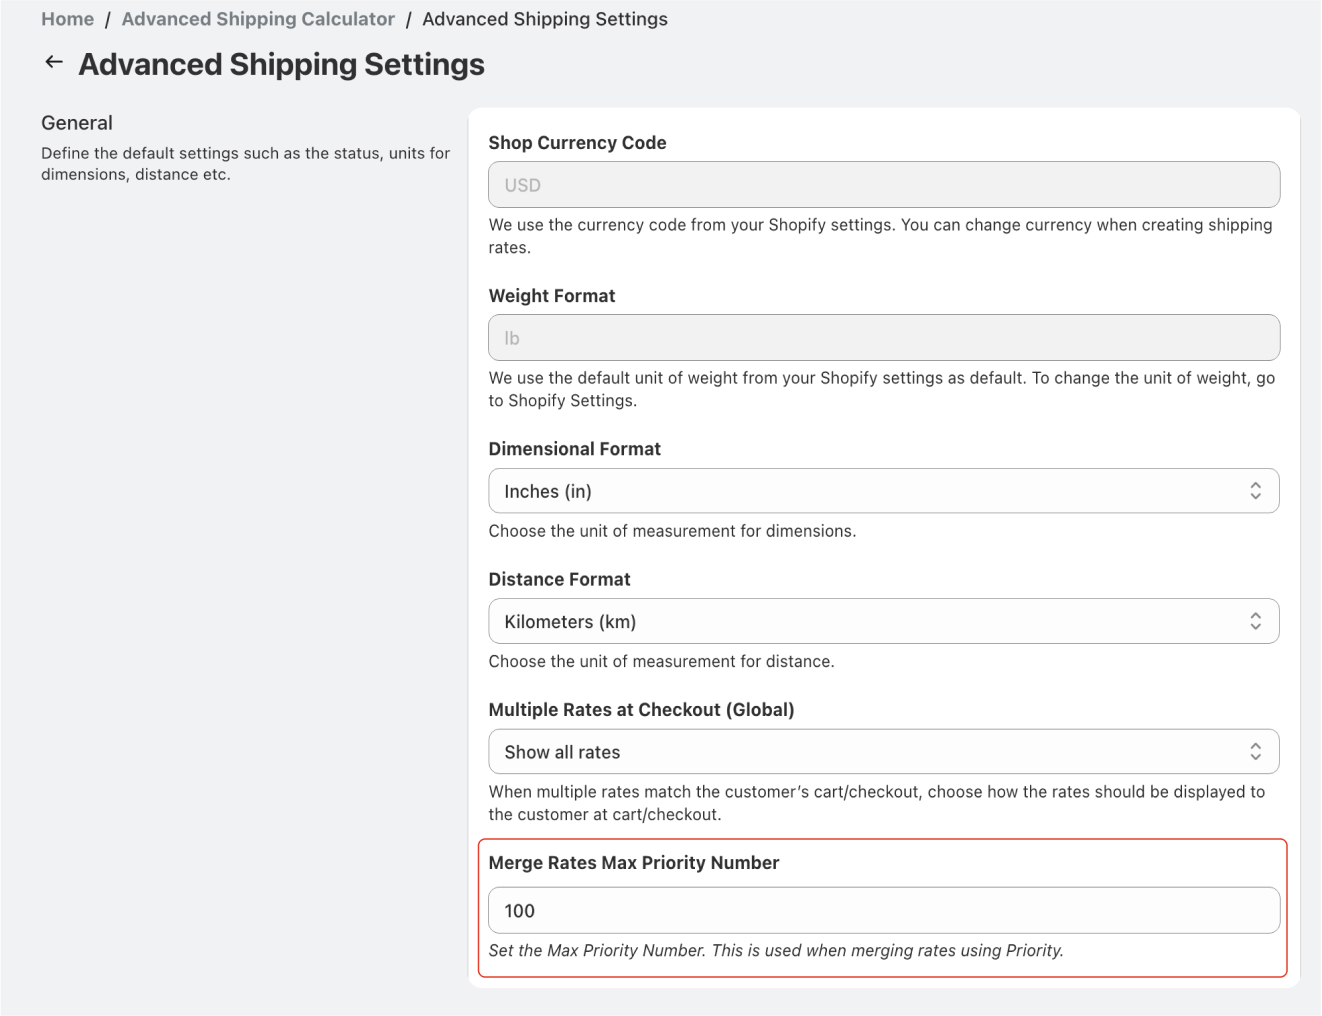
- Remember to hit the “Save” or “Abandon Changes” button at the top right of the page before leaving. If you do not click the “Save” button, your changes will be lost.